# Link a domain
Users can view your website by entering its content identifier (CID) into their address bar. But, much like IP addresses, CIDs aren't particularly user-friendly or nice to look at. To fix this, we can map a domain name to your CID, so when users visit www.YourDomain.com they'll be forwarded to your site hosted on IPFS. This guide shows you how to map a regular domain name through DNS and a decentralized domain through the Ethereum naming service.
This section is completely optional, but following it will give you a solid grasp on how to manage domain names with IPFS.
# Domain name service (DNS)
We're going to walk through mapping a domain name to a CID. It doesn't matter which domain name registrar you use since all the steps are the same, but the links and settings will be in different places.
# Things you'll need
Before we get started, you will need:
- A domain name, preferably one not already registered to a website.
- The CID of your website hosted on IPFS. If you've been following this tutorial series, you should already have a website and CID ready.
- Access your registrar's control panel. You're looking for where you can manage the
CNAMErecord andTXTrecords for your domain. - Create a
CNAMErecord.
a. Set the Host to@.
b. Set the Value togateway.ipfs.io.Notice the trailing dot.at the end ofgateway.ipfs.io.. - Create a
TXTrecord.
a. Set the Host to_dnslink.
b. Set the value todnslink=/ipfs/SITE_CID, replacingSITE_CIDwith the CID of your website. - Save your changes.
DNS changes can take a while to propagate through the internet. Your domain should eventually point to your IPFS hosted site! Why not try doing the same thing with the Ethereum naming service?
# Ethereum naming service (ENS)
The Ethereum naming service (ENS) is a decentralized way to address resources. Like DNS, which converts human-readable names to IP addresses, ENS converts human-readable names such as randomplanetfacts.eth.link to Ethereum addresses. These addresses can then be used to point to CIDs on IPFS. Without going into too much detail, ENS aims to fix some of DNS's problems, mainly man-in-the-middle attacks and scalability. For more information on why DNS is broken, check out Cynthia Taylor's post on recompilermag.com (opens new window).
# Before we get started
You need these things to get a domain name through ENS:
- The Metamask (opens new window) browser extension installed.
- An Ethereum account with some
ETHin it. The amount you need will depend on the domain name you end up buying, but a balance of around $10 is probably enough. - A website hosted on IPFS. If you've been following this tutorial series, you should already have a website and CID ready.
- A cool idea for a domain name!
# Purchase an Ethereum domain name
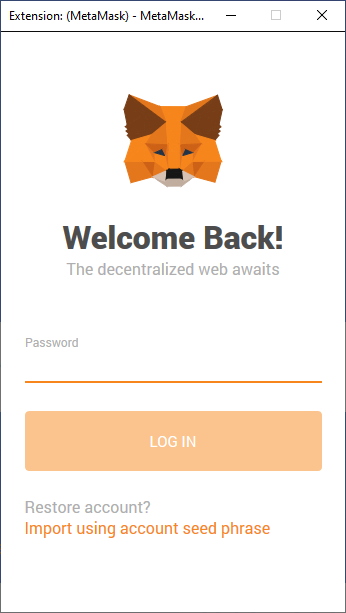
Log in to MetaMask:
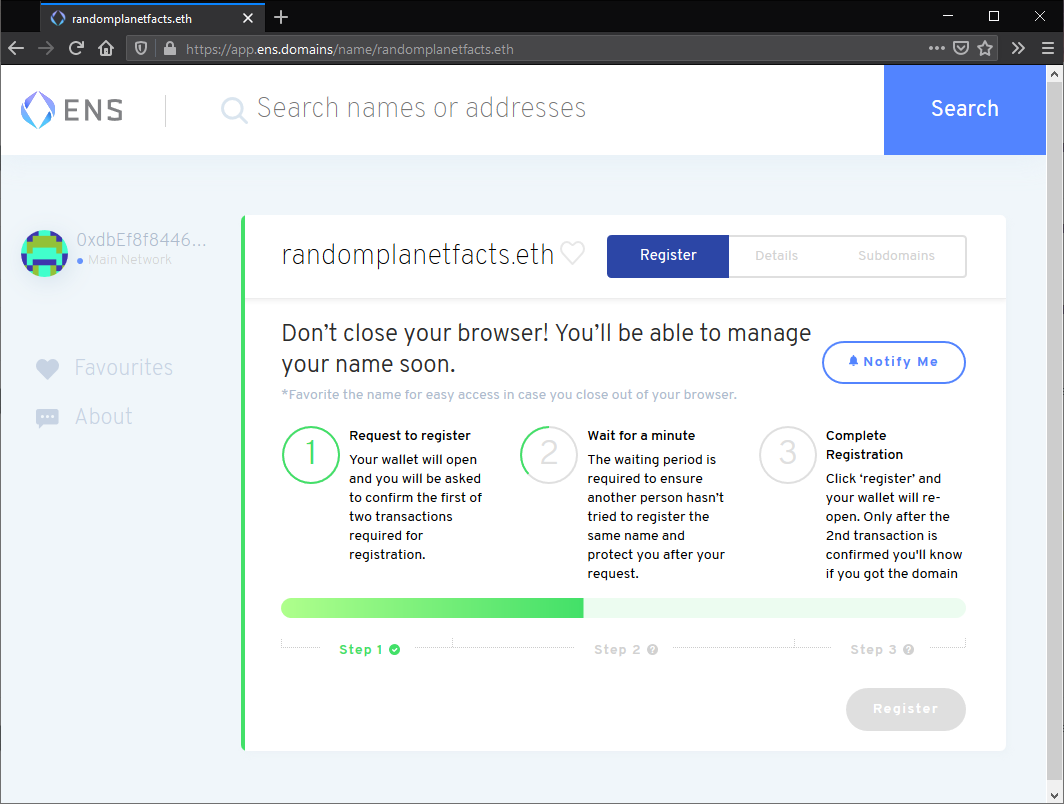
Search for the domain you want to use:
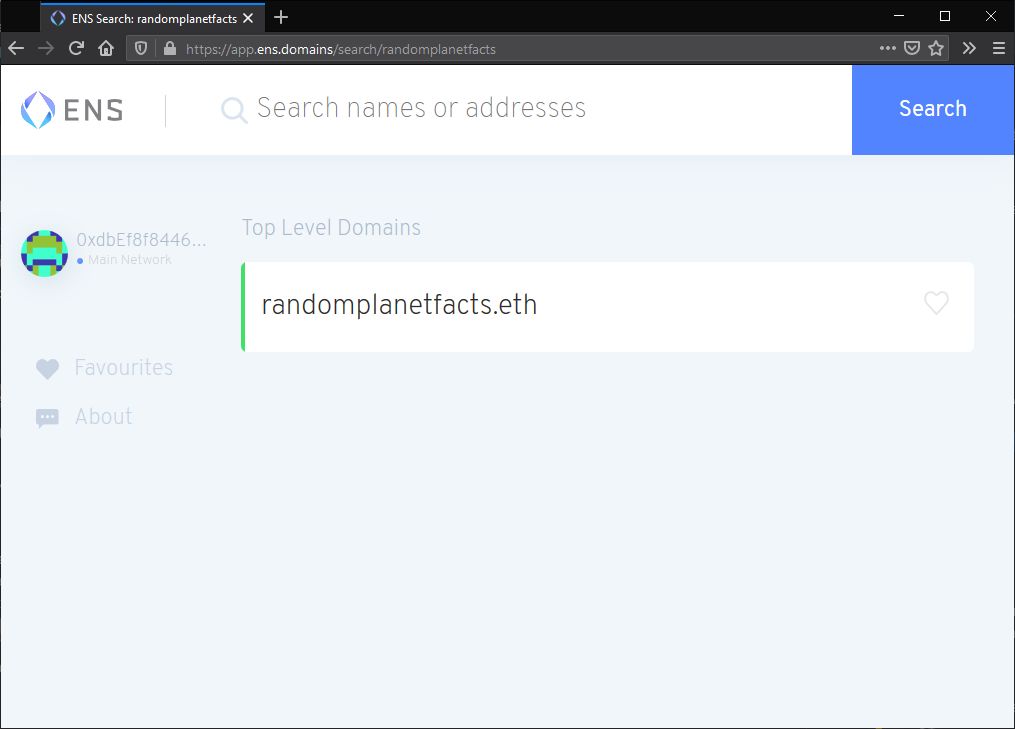
Click on the domain if it's available.
Click Request To Register:
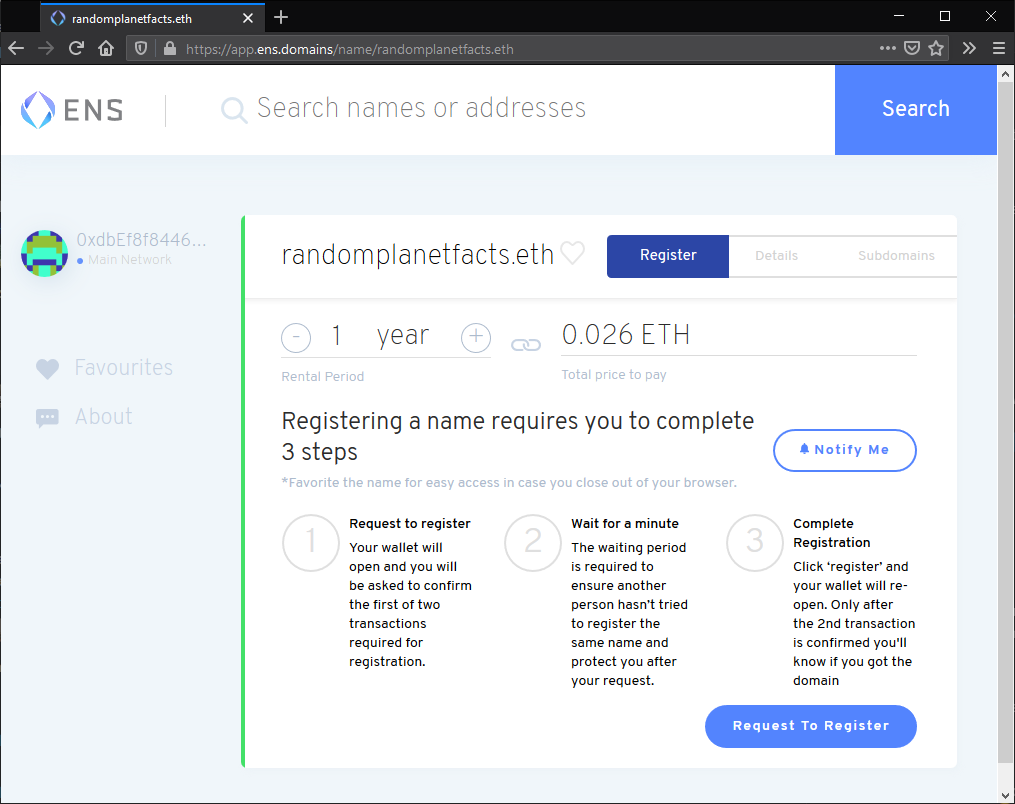
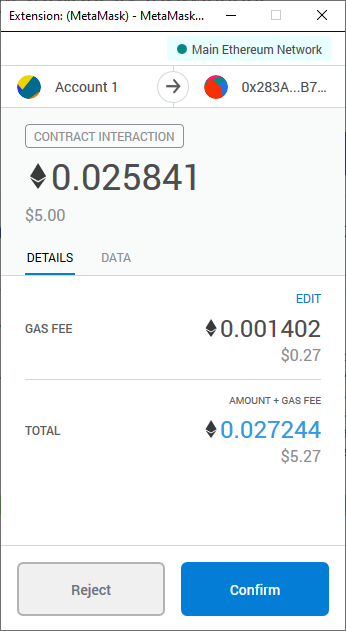
In the MetaMask window that pops up, click Confirm. This action will cost you
ETH.Wait for the Request to register transaction to complete. This process can take a couple of minutes:
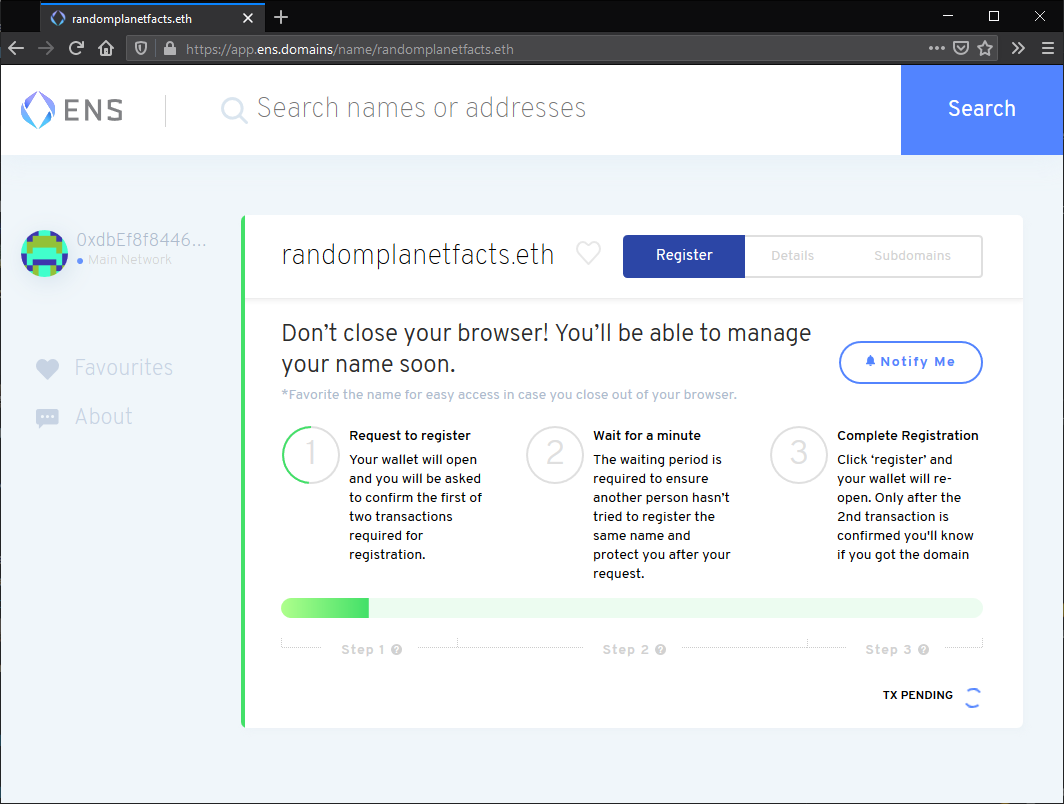
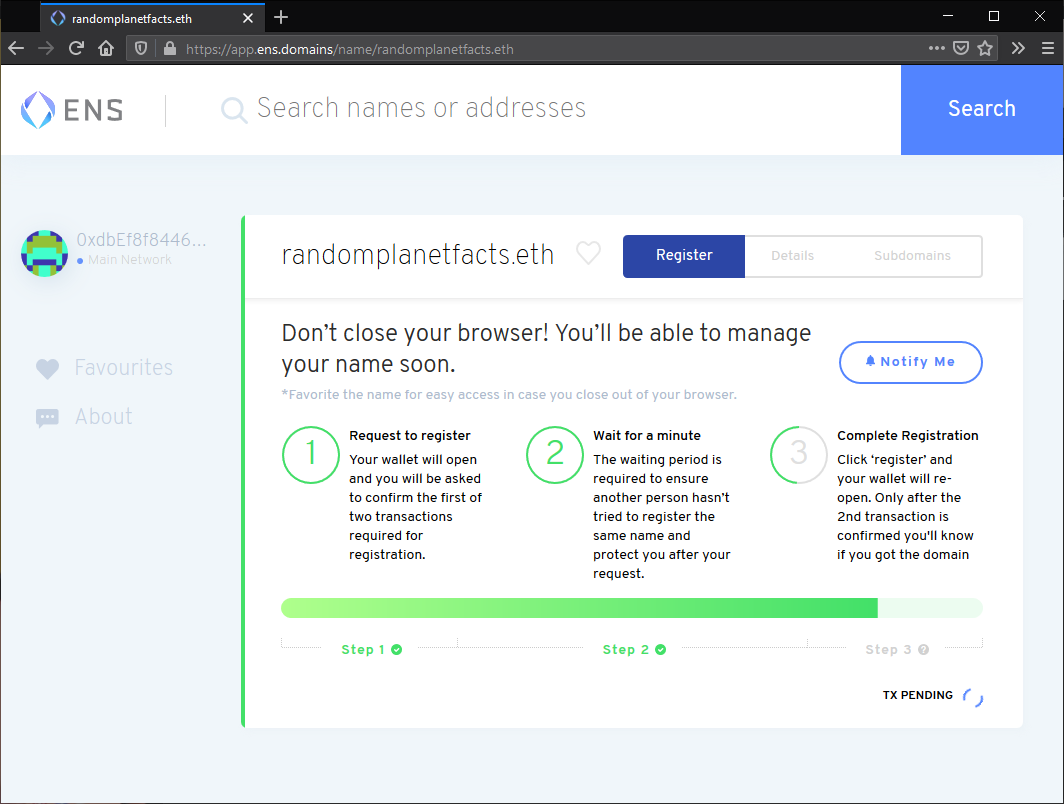
ENS requires that you wait for around a minute once the transaction has been completed. This delay is to make sure there is no-one else attempting to purchase the same domain at the same time as you:
Click Register. Then click Confirm in the MetaMask window that pops up:
Wait for the transaction to be confirmed. This process can take a couple of minutes:
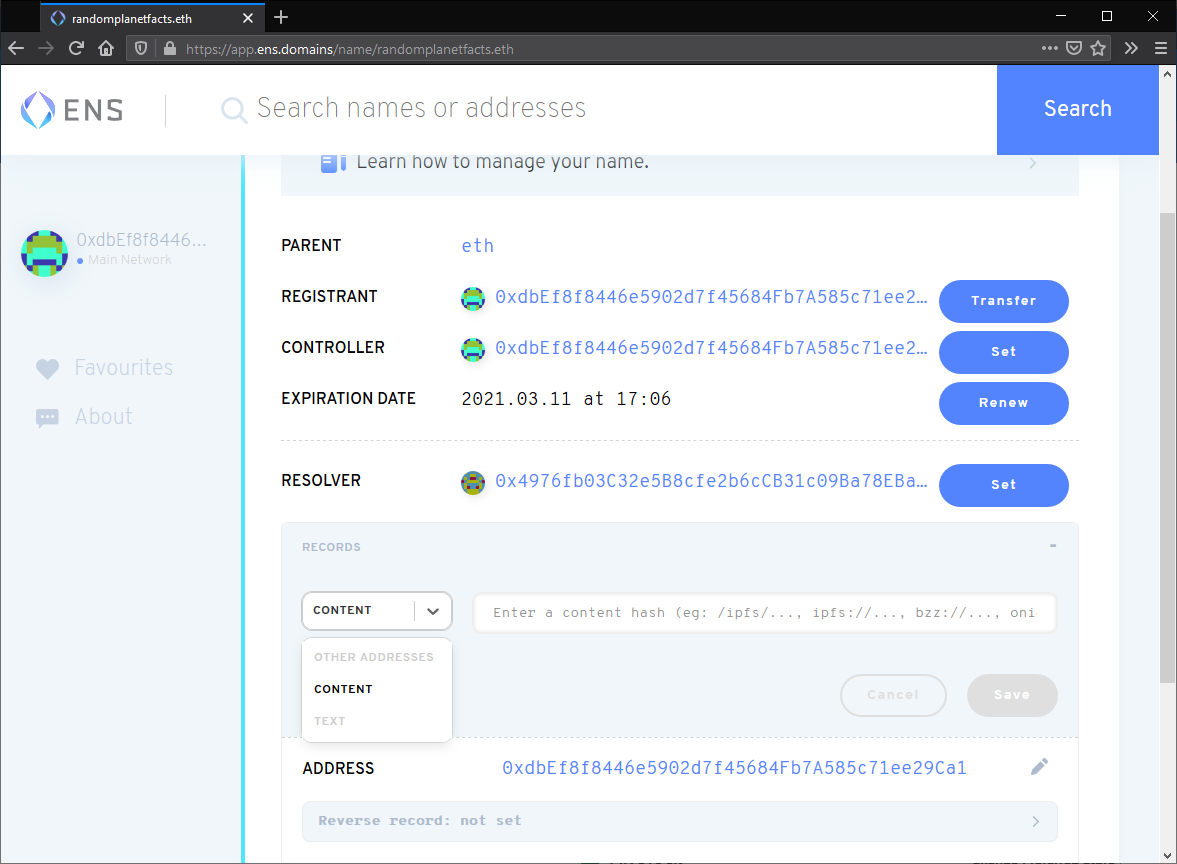
You should now be able to see all the settings for your
.ethdomain: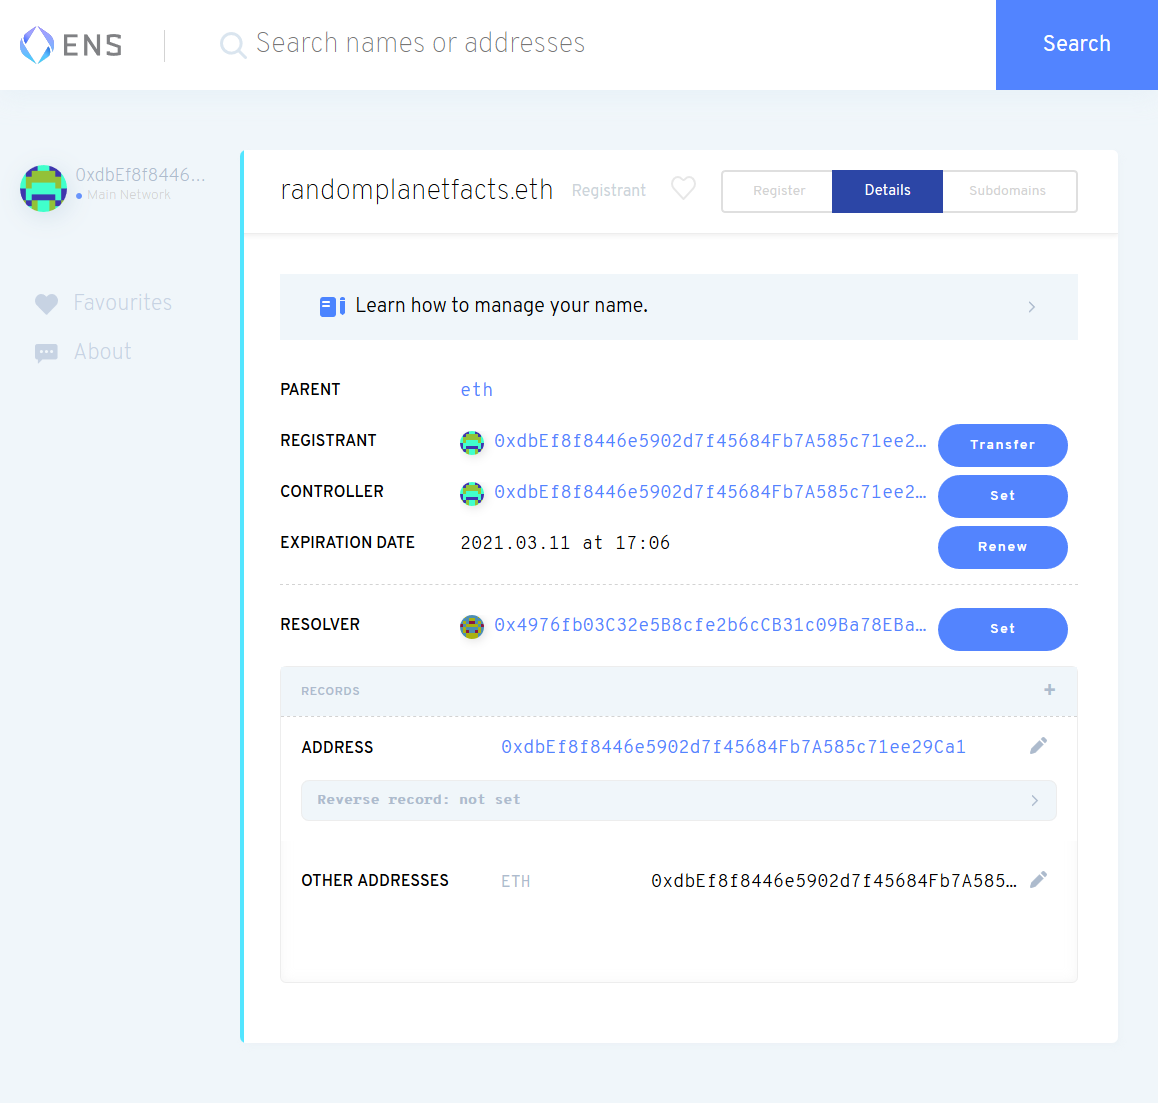
# Link your IPFS content identifier (CID)
Click the plus
+icon next to Records:
Select Content from the dropdown:
Set the Content text box as the CID of your website, prefixed with
ipfs://: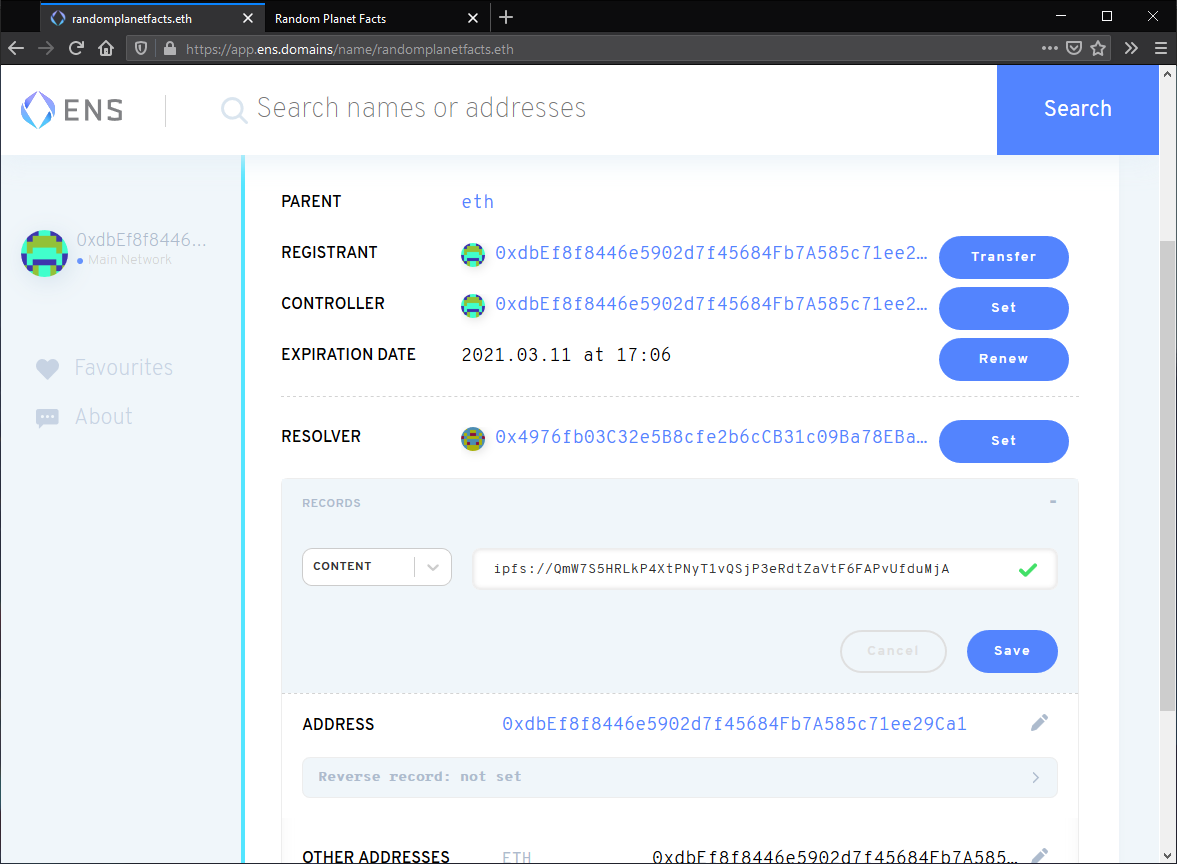
Confirm this change by clicking Confirm in the MetaMask pop-up:
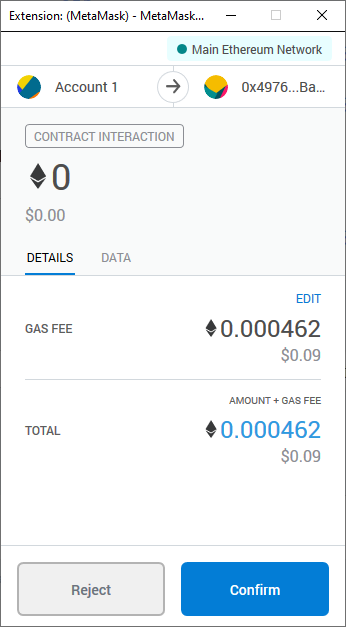
This transaction can take a couple of minutes to complete.
In a few minutes, you'll be able to go to Your_Domain.eth/ and view your website. Note the trailing slash /. Because .eth is not a registered DNS top-level domain, it is normally inaccessible through regular browsers.
Eth.link (opens new window) provides a way for any browser to access your website. Append .link to your domain Your_Domain.eth.link. There are no additional steps for this.
# Up next
In the next tutorial in this series, we'll take a look at a tool that will help make this whole process easier: Fleek.